Full Kanto Region Walkthrough
Arrival and the first Rangifer encounter
This guided checklist counts named, non-generic targets only. The interactive map may also show generic containers and repeatable supplies for navigation, so use it when you want to clear those general markers alongside the route.
Before departure — Set up the run
Start on Story or Normal if exploration is the priority. Story, Normal, and Hard can be changed later, so the opening choice is not permanent. Spend the first points on a coherent function you will use—Emma's ranged or Entanglement utility and Koo's survivability or control are safe examples—and remember that respeccing is available.
At the Cleanse Walker, eat each newly available dish at least once: its first serving grants a permanent stat increase, while later servings still provide the listed meal effect. Upgrade the melee or ranged weapon you actually use; Amber pays for enhancement, while exploration upgrades the facility caps.
When Koo senses a nearby point of interest or hidden item, check the map and mark it before moving on. Outside combat, Emma and Koo regenerate HP while their hunger meters are not empty; eat field food when the meter is low, but use combat healing during a fight. Keep a ranged option for separated targets and crowded arenas, and combine it with Koo's bind or area tools instead of treating ammunition as the only plan.
O0 — Arrival and surface orientation
Begin at the first Cleansing Vessel. Activate the nearby surface camps and use them to orient the opening route before committing to the first Nushi objective.

Ogouchi arrival — begin inside the first Cleansing Vessel before activating the nearby surface camps. O1 — First Rangifer encounter (Lv. 9)
Enter the first arena and fight Rangifer at Lv. 9. This encounter ends when Rangifer retreats; follow the vessel and story transition afterward instead of looking for a second phase here.

O0 — Arrival landmarks
- Cleansing Vessel
- Upstream
- Village Outskirts
O1 — First Nushi encounter
- Rangifer — Lv. 9
Ogouchi Buffer Zone completion route
Sweep the surface before the underground network, complete the four-key chain, and finish the Overlord's Lair route without counting ordinary supplies as completion targets.
O2 — Ogouchi surface sweep
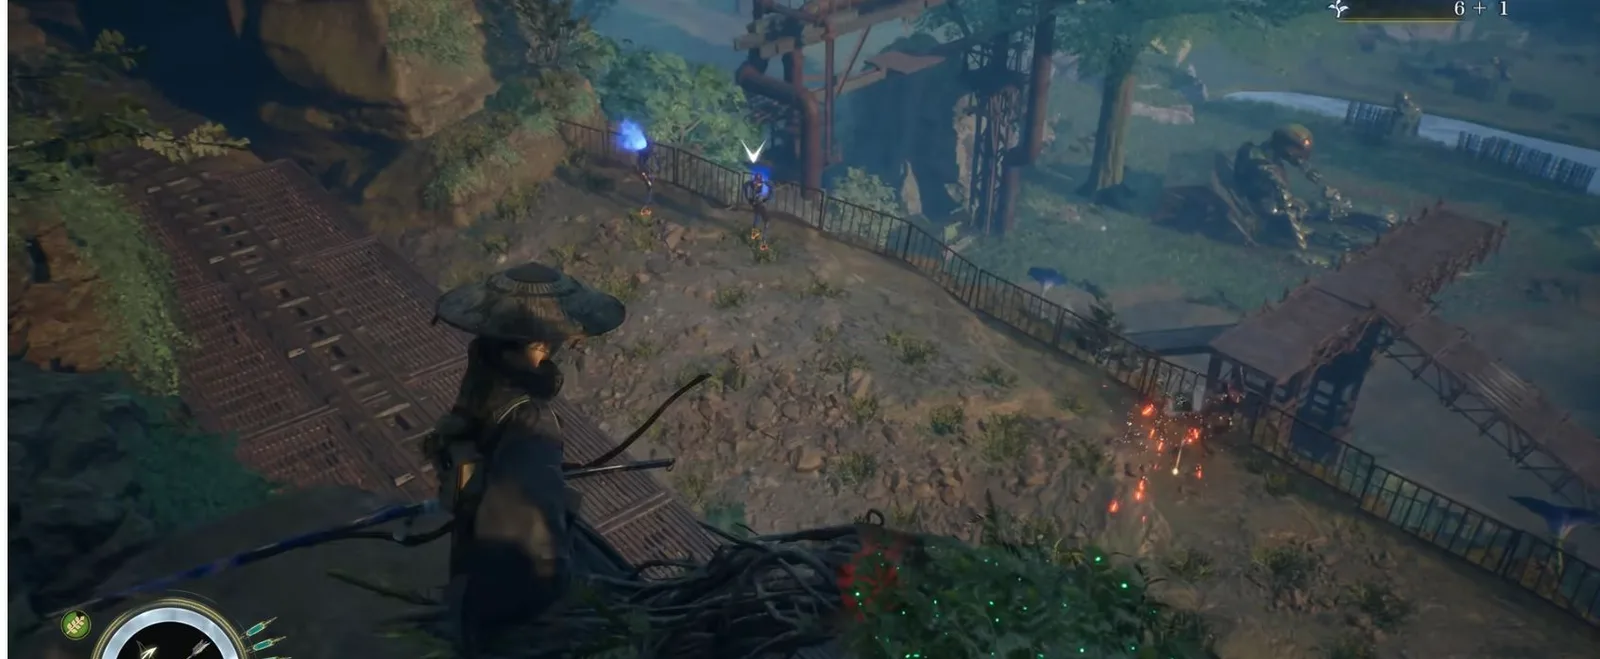
Clear the named camps and enemy outposts, then collect the named side pickups before entering the underground network. Ordinary barrels, crates, rice, fish, water bottles, baskets, boxes, toolboxes, nests, and repeatable supplies are not part of this completion checklist.
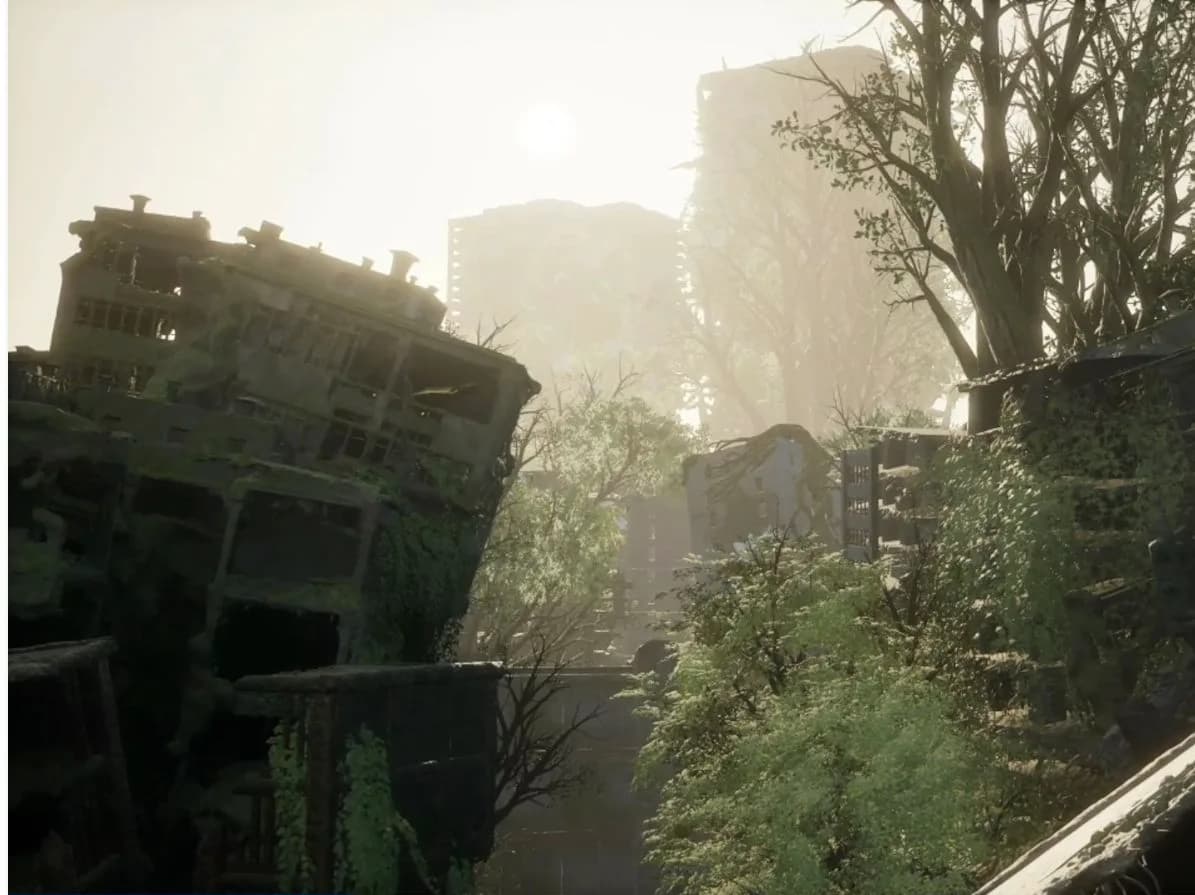
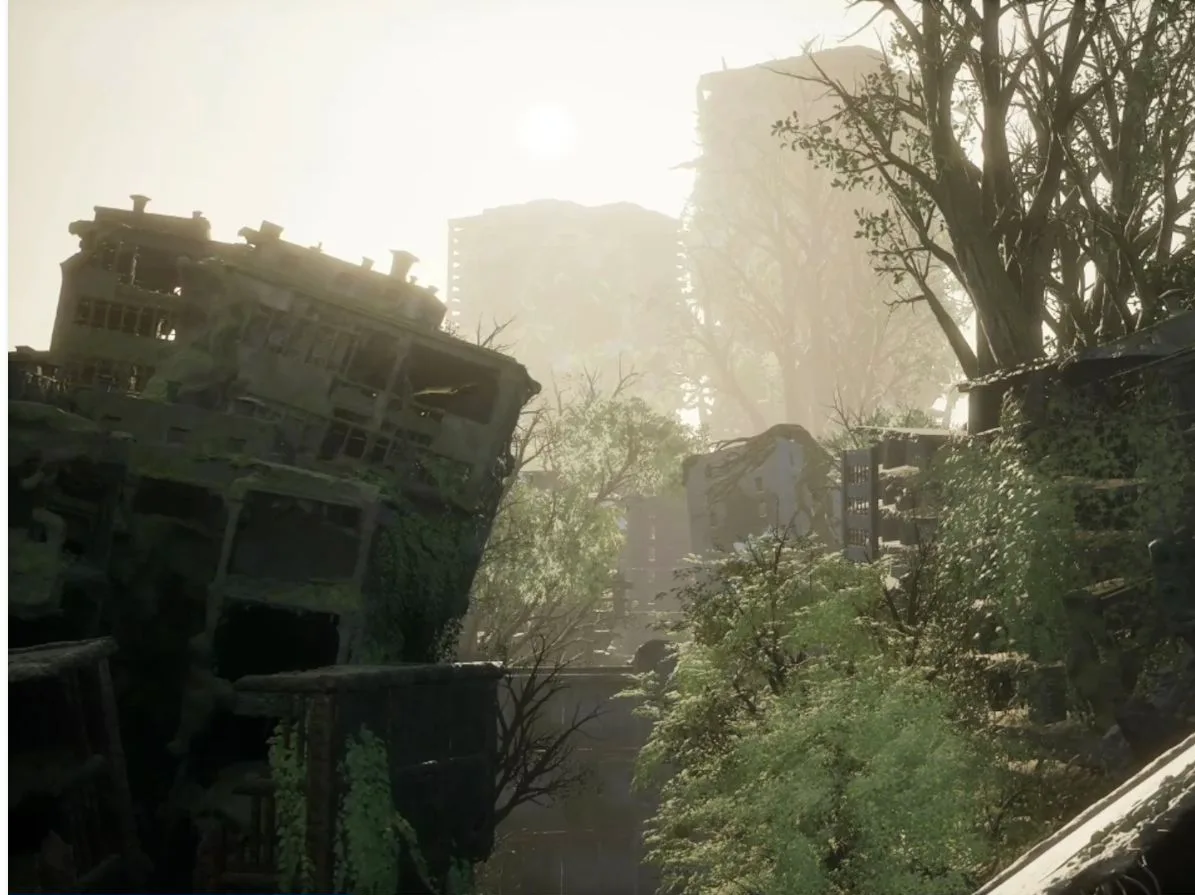
Ogouchi surface — use the overgrown high-rise ruins as a landmark while clearing camps, outposts, and pickups. O3 — Underground Residential Areas 01–03
Sweep Underground Residential Areas 01, 02, and 03. Include both entrances, Chain Mail, Onslaught, Crafting Book: Healing Potion (Small), Red Key, and the Red Key Door branch.
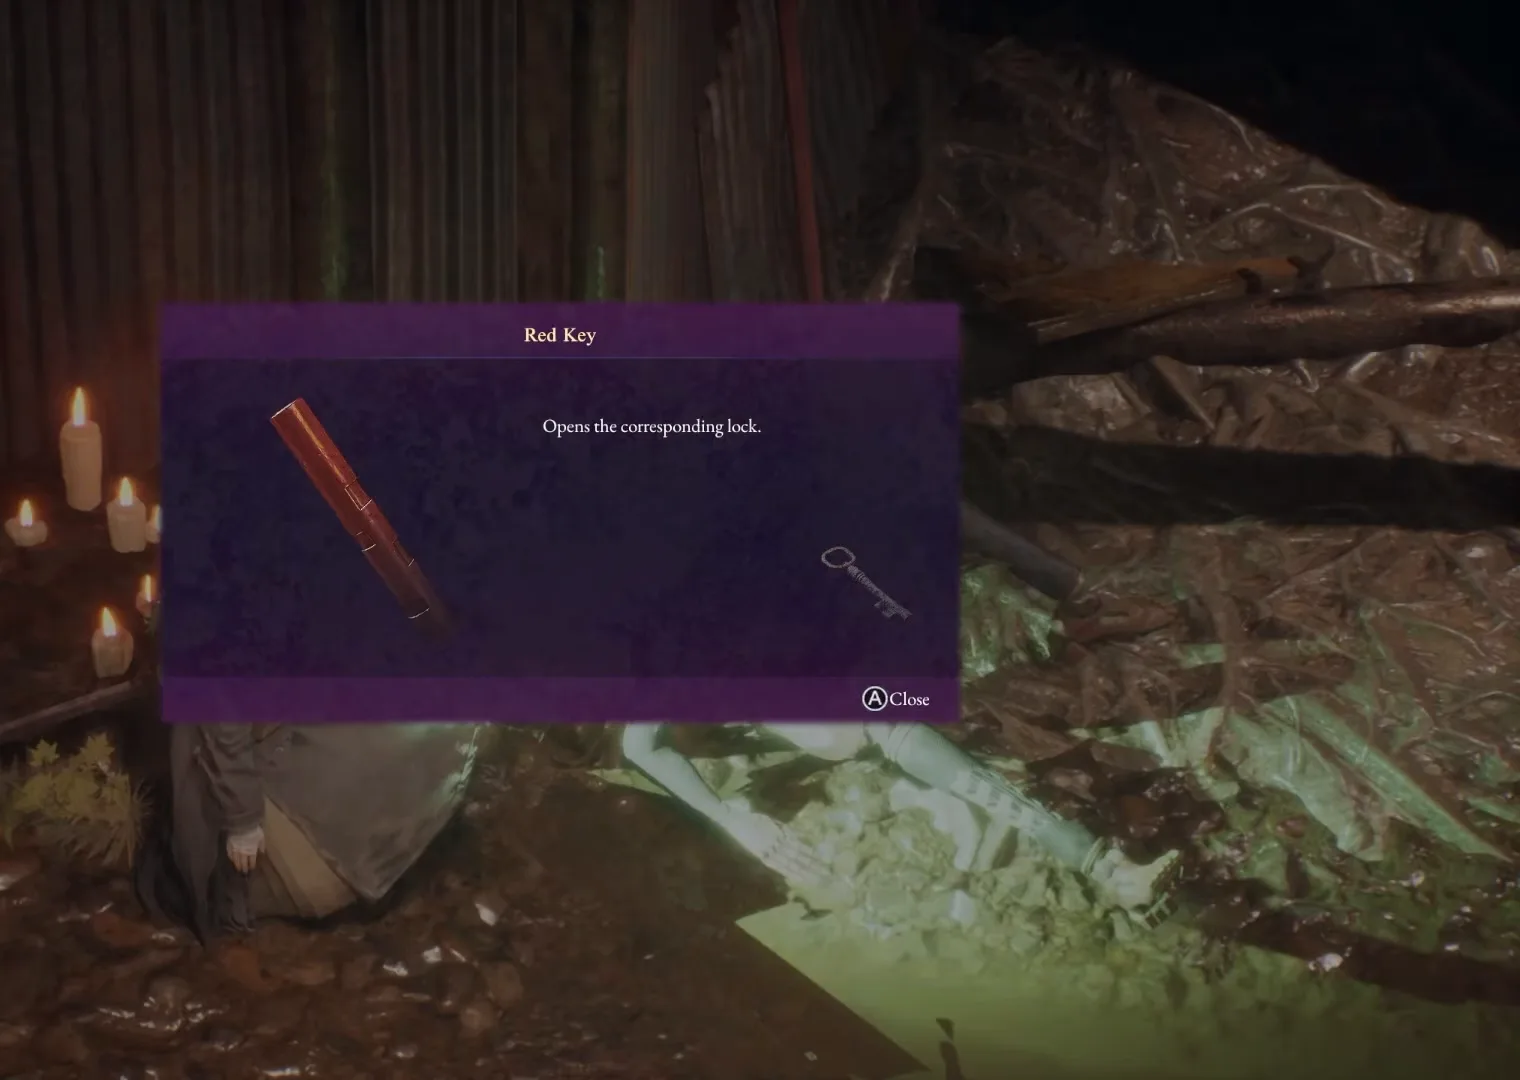
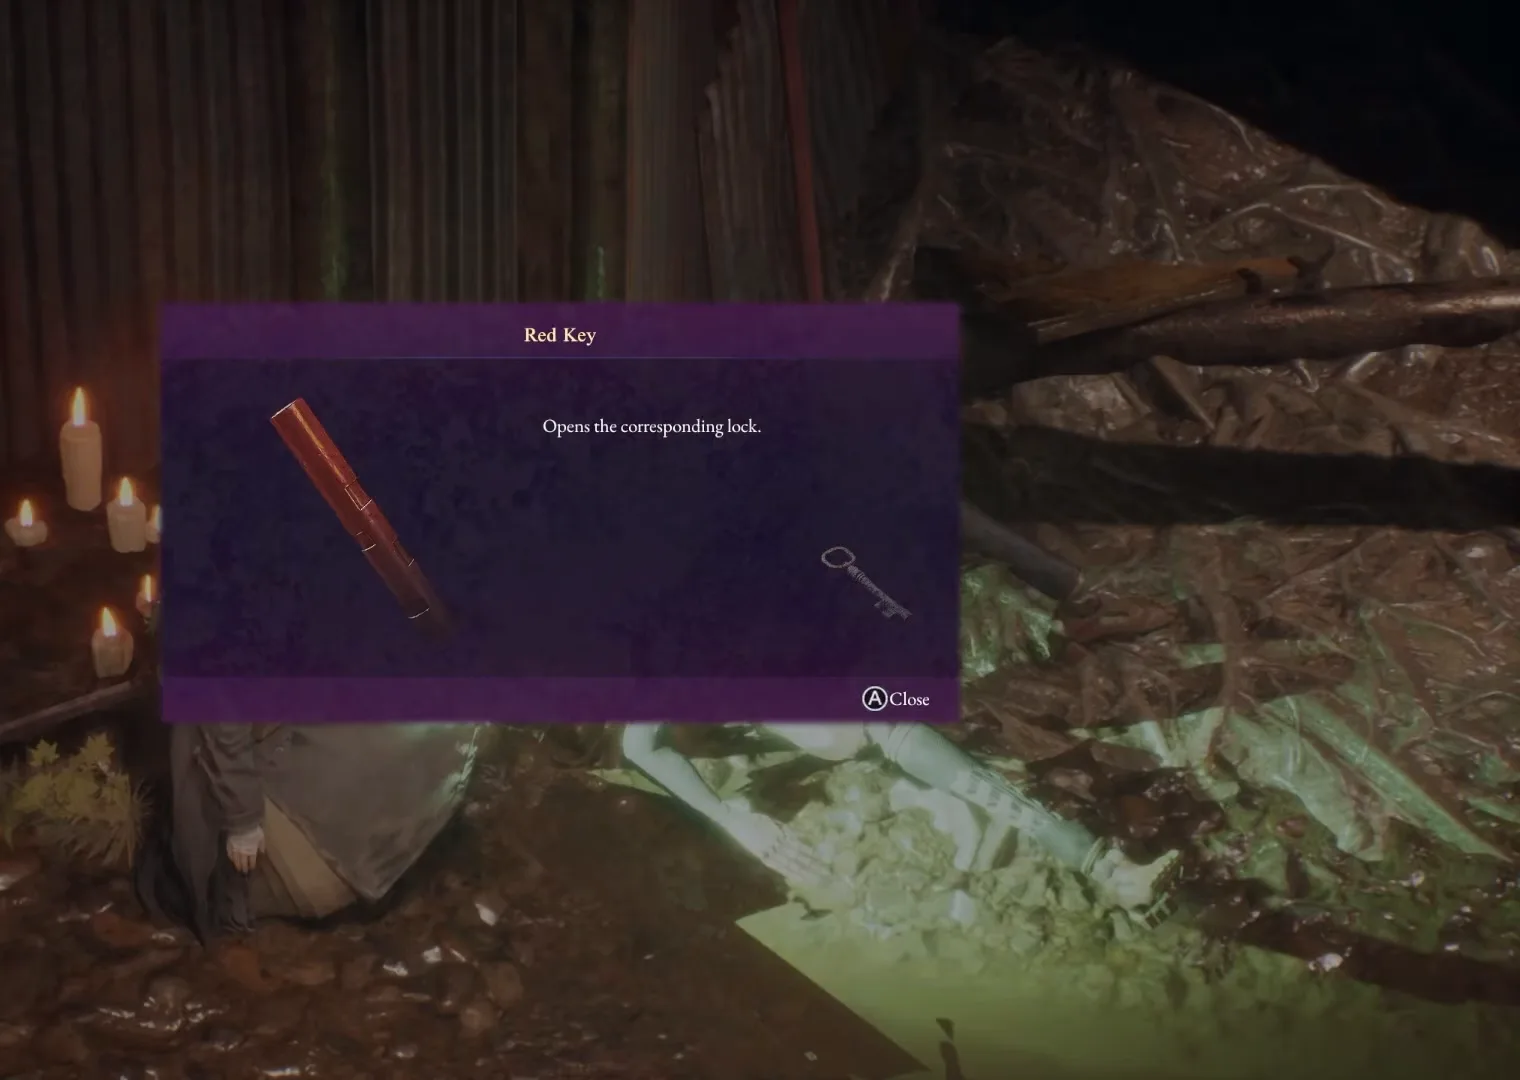
Underground key sweep — collect the Red Key shown on this pickup card before checking the locked branches. O4 — Four-key chain
Collect Red Key and Blue Key, defeat the Tailwater Village cave elite for Tailwater Key, then use Tailwater Key on the Tailwater Key Door to reach Yellow Key. The complete chain is the Red, Blue, Tailwater, and Yellow keys. Tailwater Key is the mandatory intermediate fourth key; the lair gate consumes the Red, Blue, and Yellow keys.
O5a — Retired Gatekeeper and Cirrus Sword
Return to the lair gate, speak to the Retired Gatekeeper, and take the Cirrus Sword.
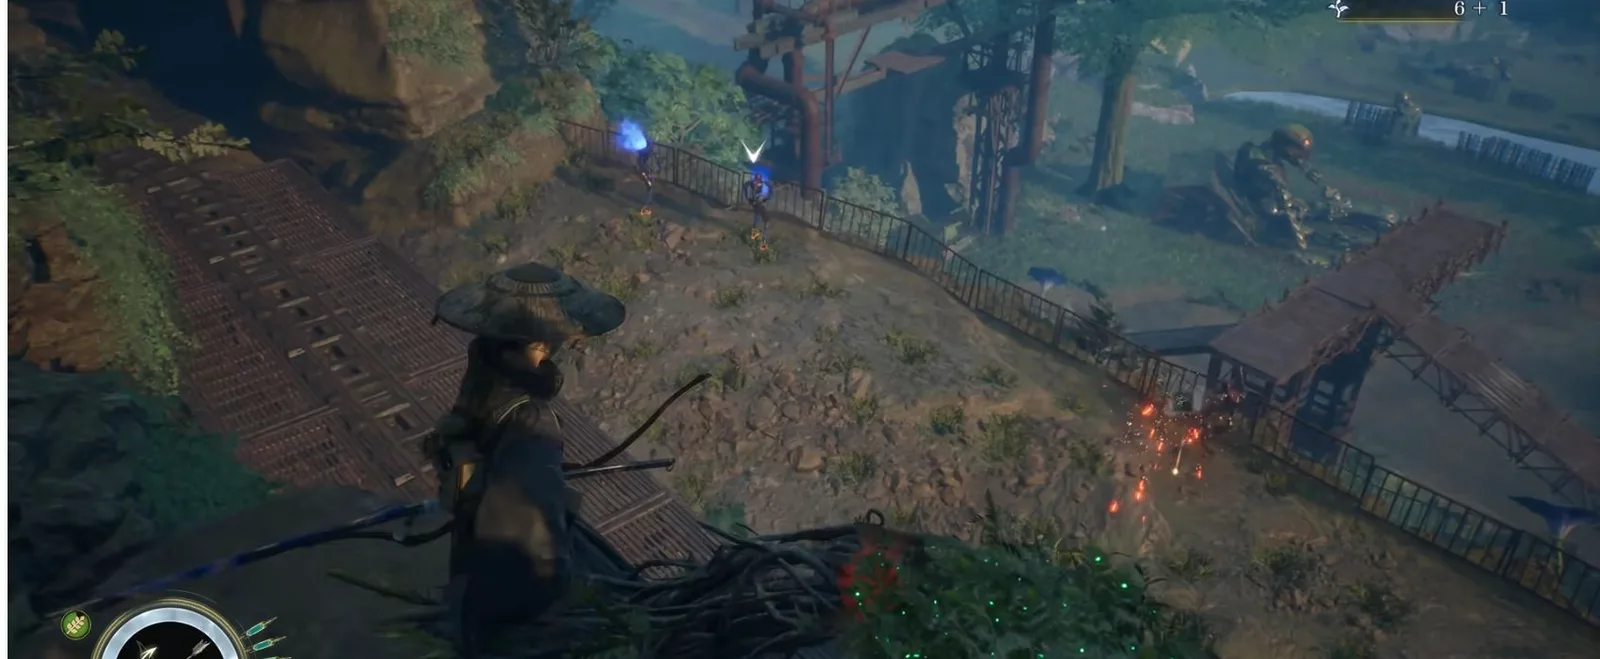
Sealed lair gate — speak to the Retired Gatekeeper here to receive the Cirrus Sword before opening the route. O5b — Rangifer rematch (Lv. 12)
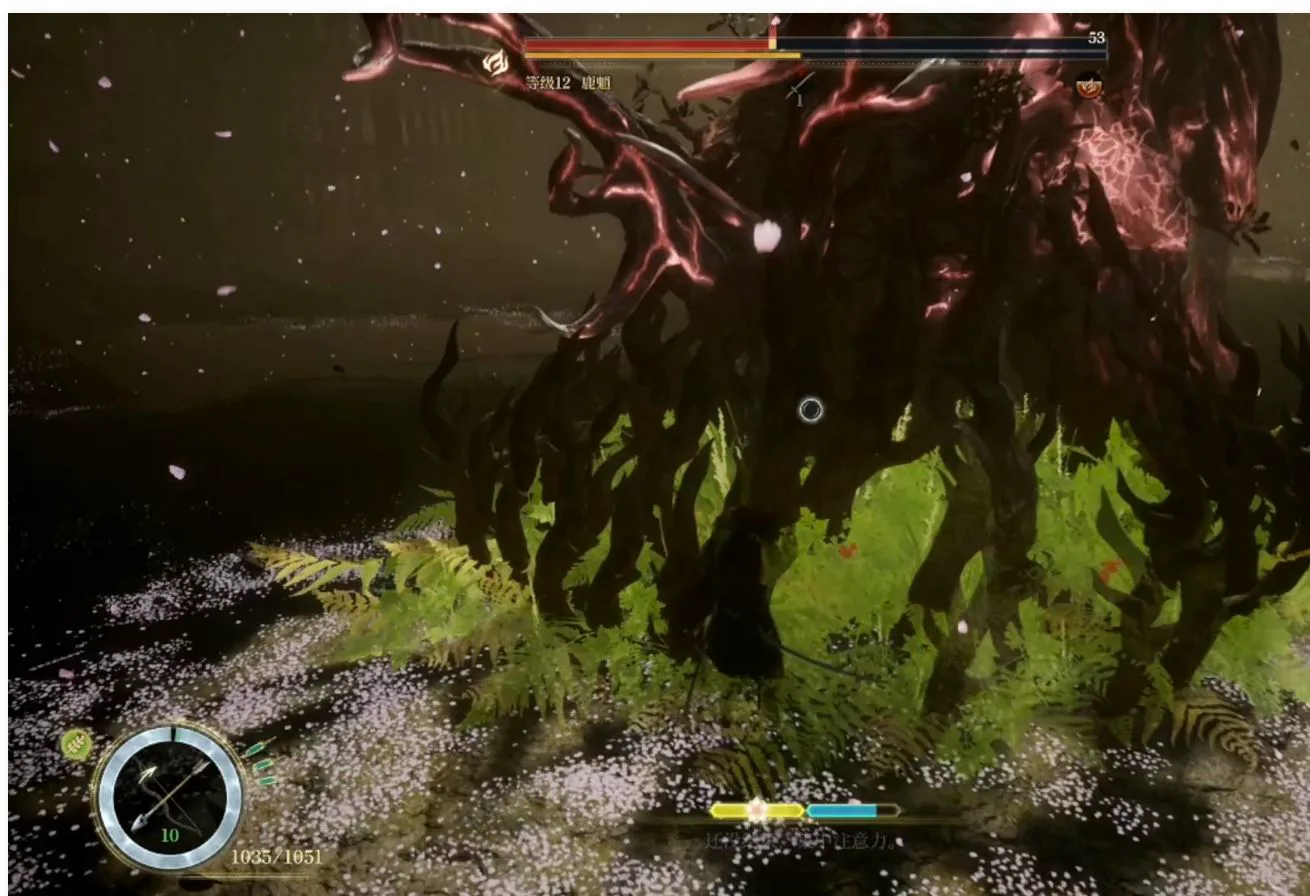
Open the route with the Red, Blue, and Yellow keys, defeat the Lv. 12 Rangifer rematch, then cross into Ancient Civilization.
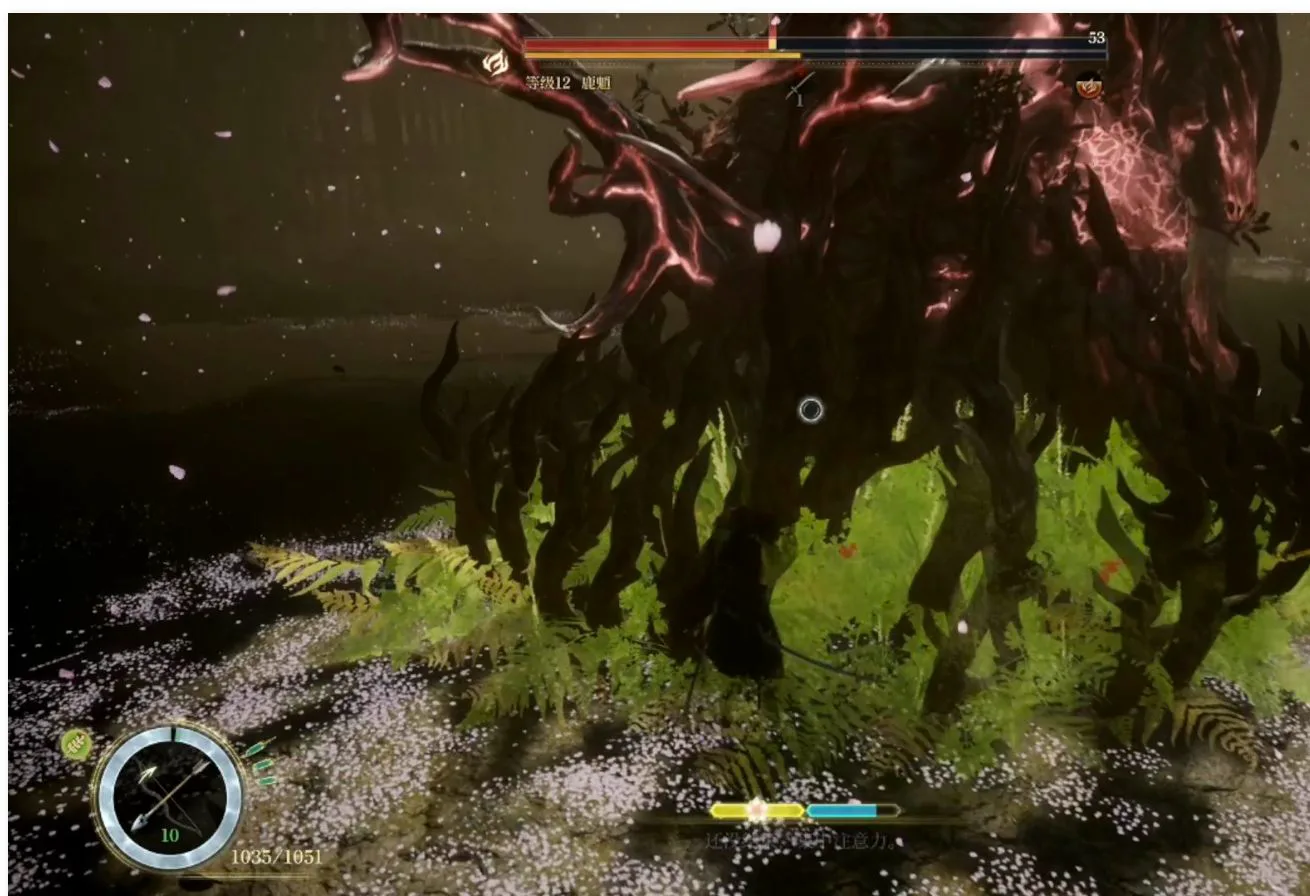
Lair rematch — defeat the Lv. 12 Rangifer here before crossing into Ancient Civilization.
O2 — Surface camps and outposts
- Ruined Tower Site
- Lookout Hut
- Cliffside Watchtower
- Quarry Interior
- Quarry Road
- Cliff Area
- Downstream Bridge Area
- River Fork
- Bridgeside Village
- Cliffside Village: Outskirts
- Cliffside Village: Interior
- Ruined Tower
- Lookout Hut
- Quarry
- Abandoned Disposal Plant
- Abandoned Village
- Cliffside Village
O2 — Surface pickups and interactions
- Blue Key Door
- Recipe: Boiled Beans
- Crafting Book: Acid Bolt
- Crafting Book: Fire Arrow
- Zangetsu Bow
- Mechblade (Light)
- Bane of Golems
- Warehouse Guard's Diary
- The Arsonist's Ravings
- Soybean Seedling (village)
- Piggy Bank
- Legacy Golem
- Legacy Golem
- Memory Chip x2
- Memory Chip
- Memory Chip
- Memory Chip
- Electronic Brain x2
- Electronic Brain
- Facility Module
- Facility Module
- Facility Module
- Facility Module
O3 — Underground Residential Areas
- Underground Residential Area 01 Entrance
- Underground Residential Area 02 Entrance
- Underground Residential Area 03
- Underground Residential Area 01
- Underground Residential Area 02
- Red Key Door
- Red Key
- Crafting Book: Healing Potion (Small)
- Chain Mail
- Onslaught
- Golden Egg
- Power Generator x3
- Electronic Brain
- Facility Module
- Facility Module
O4 — Tailwater and the four-key chain
- Tailwater Village
- Tailwater Village
- Tailwater Key Door
- Yellow Key
- Tailwater Key
- Blue Key
- Recipe: Fried Egg
- Bulwark
- Bring the Yellow Key
- Soybean Seedling (Tailwater)
- Rice Seedling
- Keybearer Golem
- Memory Chip
- Facility Module
O5 — Overlord's Lair departure route
- Route to the Overlord's Lair
- Overlord's Lair Entrance
- Cirrus Sword
- Rangifer Blight Effigy
- Wandering Merchant
- Retired Gatekeeper
- Legacy Golem
- Rangifer — Lv. 12
Ancient Civilization Zone completion route
Ancient Civilization is Chapter 2 within the Kanto region. Complete both generator branches, the reservoir encounter, and the Lightning Stone return before the final surface sweep. Across Kanto, all five Legacy Golems are optional route targets but mandatory for the 100% interaction sweep.
A0 — Ancient Civilization entry
Activate the entry Cleansing Vessel and the unnamed entry Camp marker, then speak to the Ancient Golem. The zone contains nine generic Camp markers and three Dragon Vein Shrines; the shrines are optional for story progress but required for this completion route.
A1 — Two-generator loop
Use the Underground Ruins, Tunnel Ruins, and Shopping Mall branches to restore both generators. Collect Thick Cuirass, Binding Fang, the seedlings, recipes, upgrade materials, and both Ancient Civilization Legacy Golem interactions before opening the powered reservoir route.
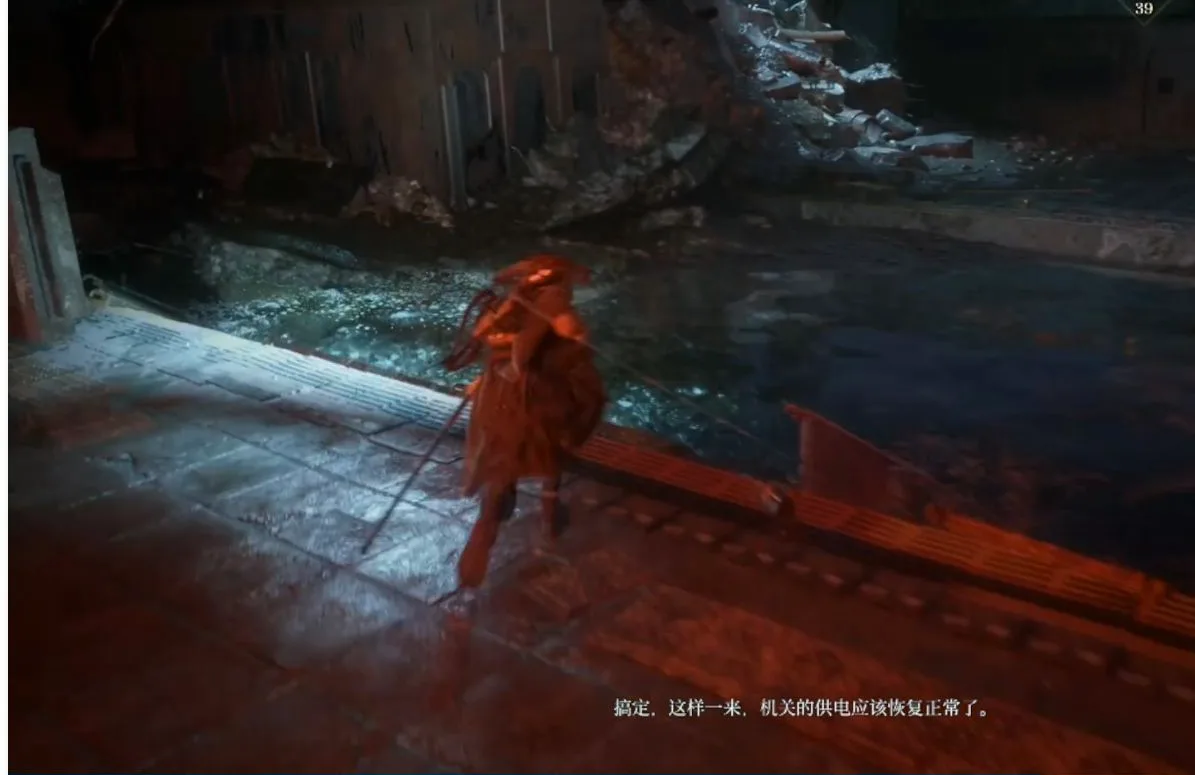
A1 generator loop — pass this pre-restoration mechanism while the route is still awaiting restored power. A1b — Pre-Lacerta control cabinet
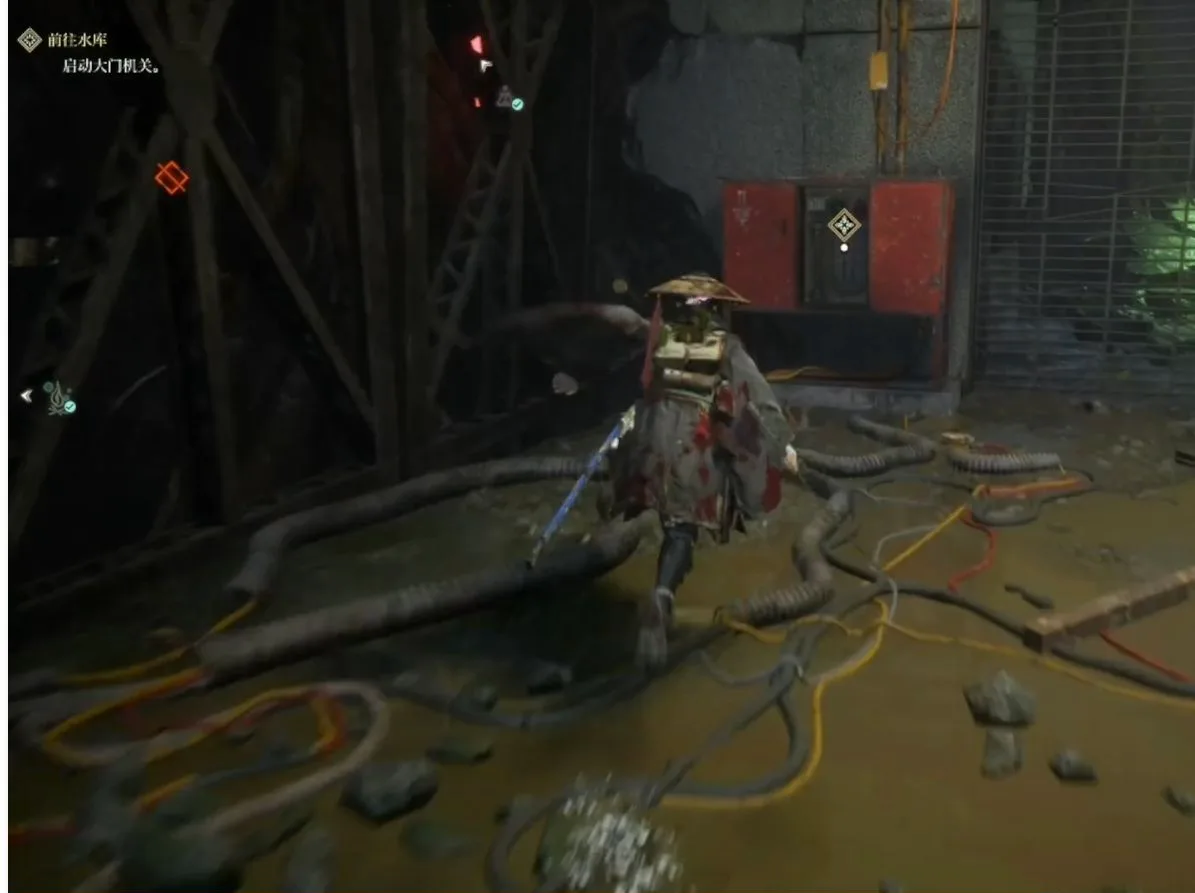
Follow the pre-Lacerta route past the marked control cabinet after finishing the generator branches. This cabinet is route context only; it does not identify a numbered Control Panel or a named Sluice Gate.
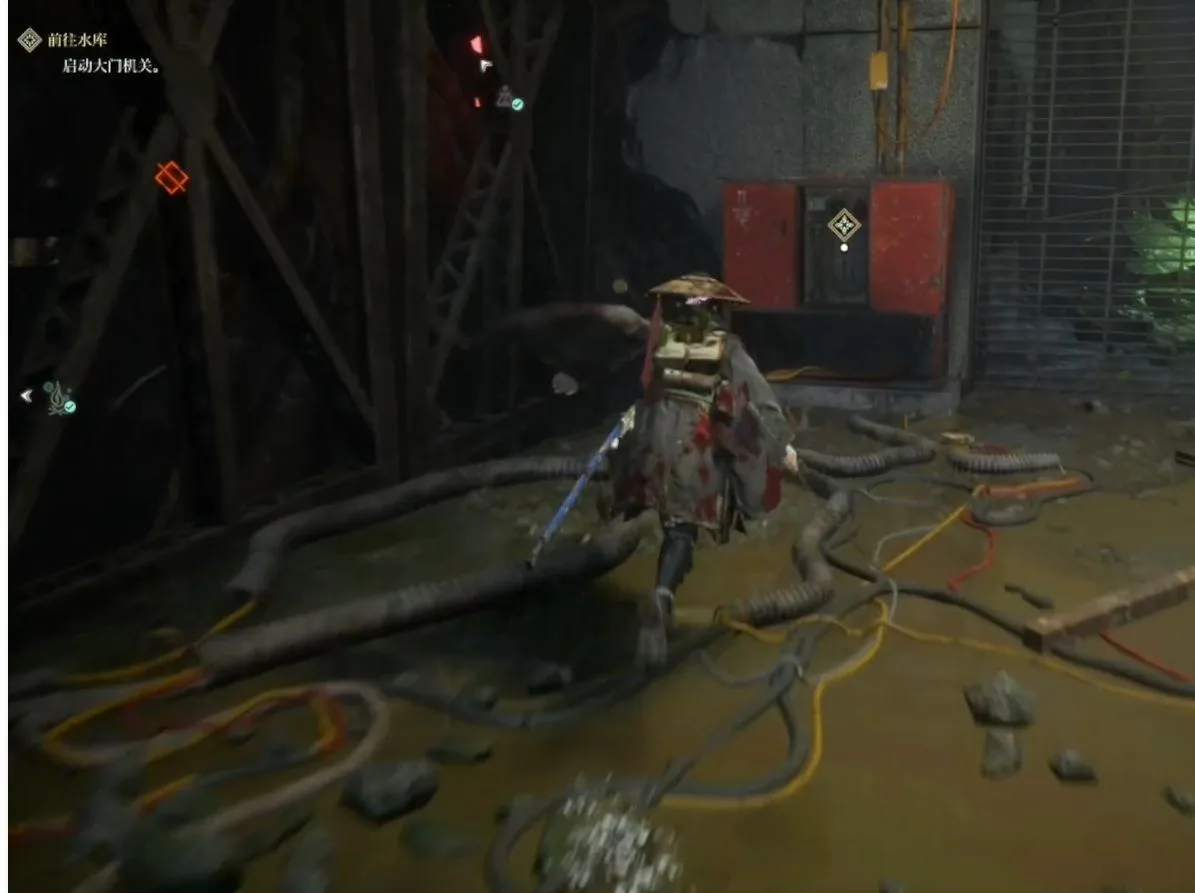
Pre-Lacerta A1 route — use this cabinet and cable path as navigation context before entering the reservoir. Optional — Pre-reservoir research detour
Before committing to the reservoir, clear the upper-walkway enemy group once if you want extra research or crop progress. Continue forward afterward; this detour is not required for the completion checklist.
A2a — Reservoir shrine
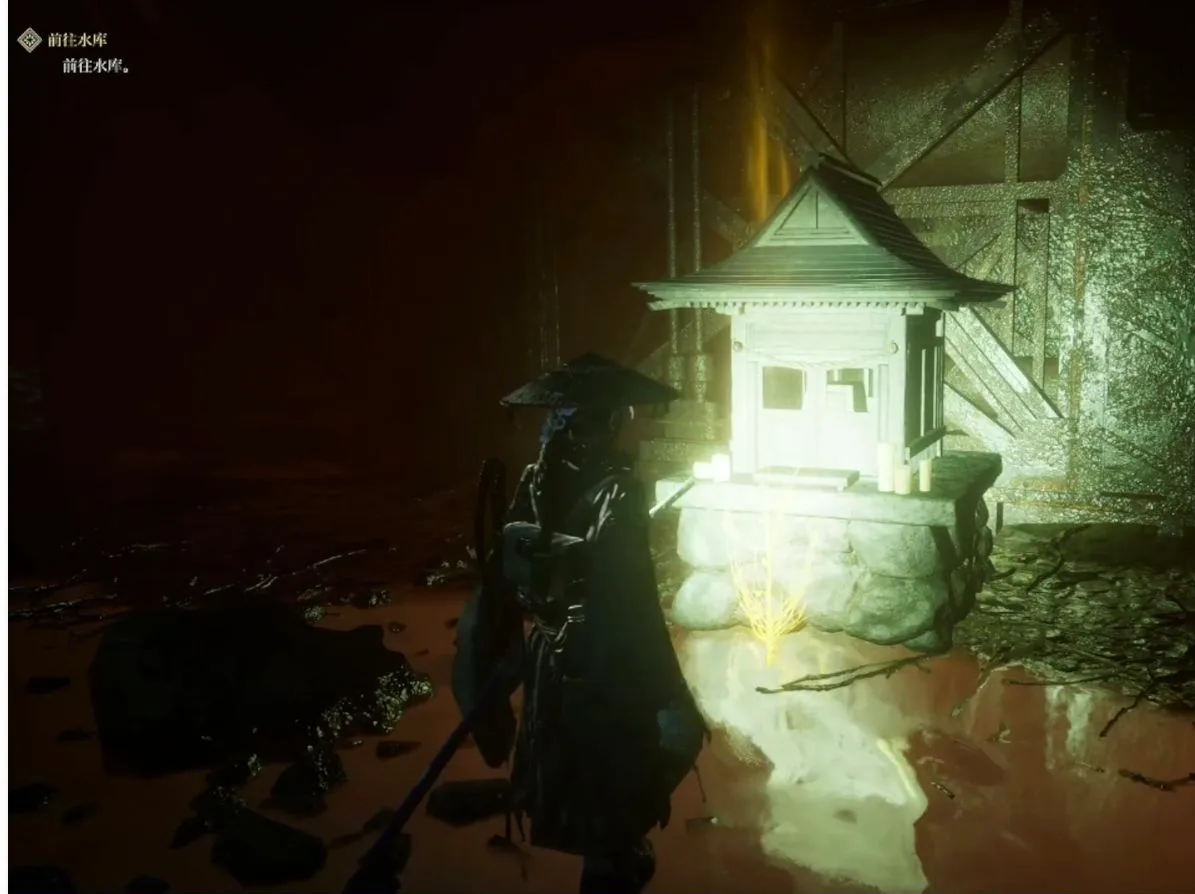
Take the reservoir-interior Dragon Vein Shrine before entering the arena.
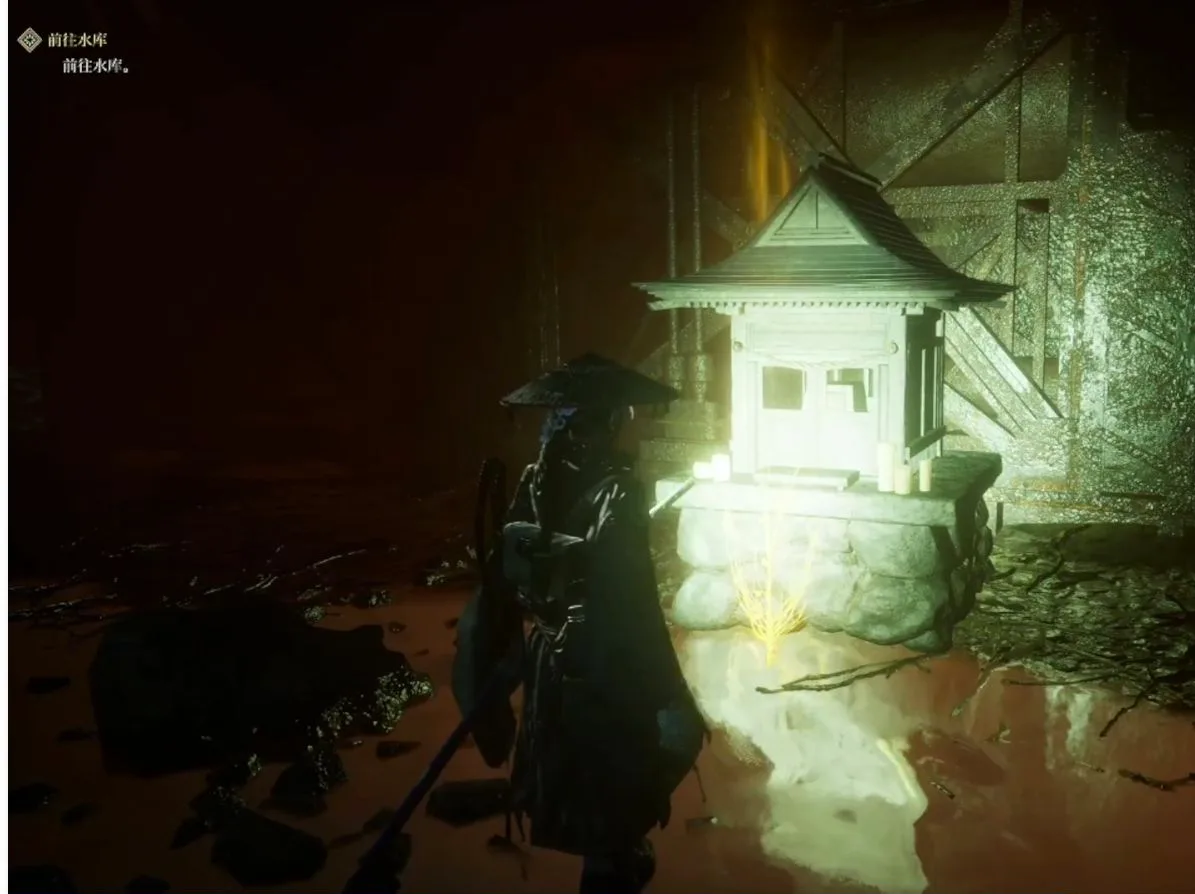
Reservoir interior — activate this Dragon Vein Shrine before following the route into the first Lacerta arena. A2b — First Lacerta encounter (Lv. 13)
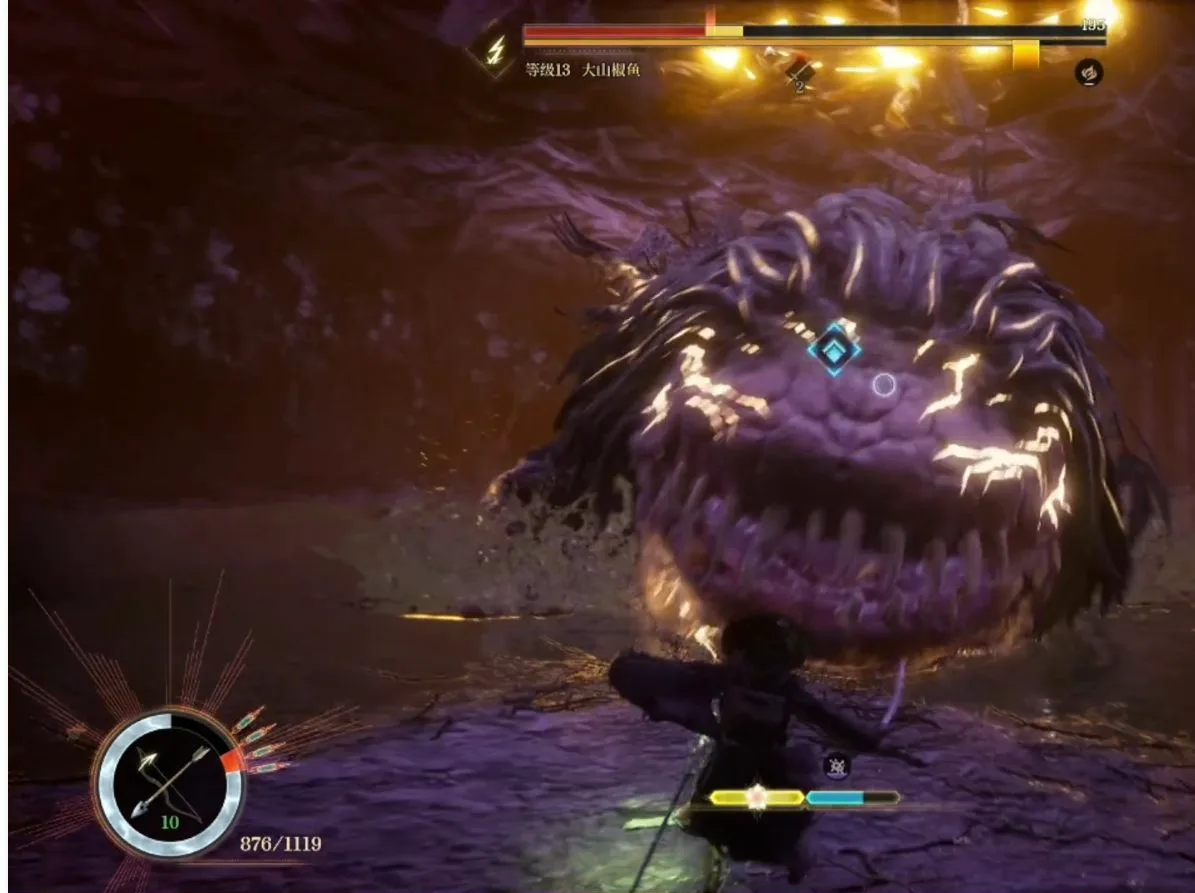
Enter the reservoir arena and defeat Lacerta at Lv. 13 before taking the escape-hole route.
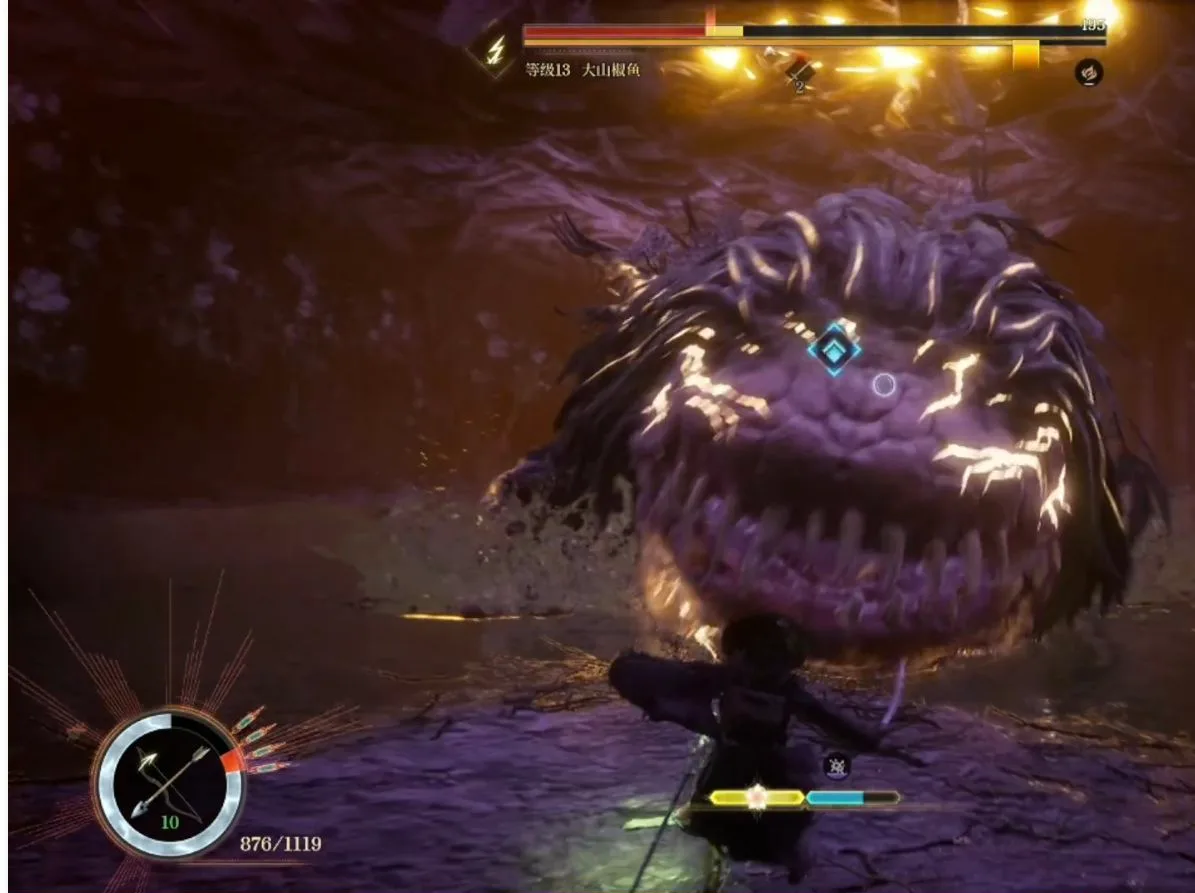
Reservoir arena — defeat the Lv. 13 Lacerta encounter before continuing through the escape hole. A2c — Mechblade Heavy ledge
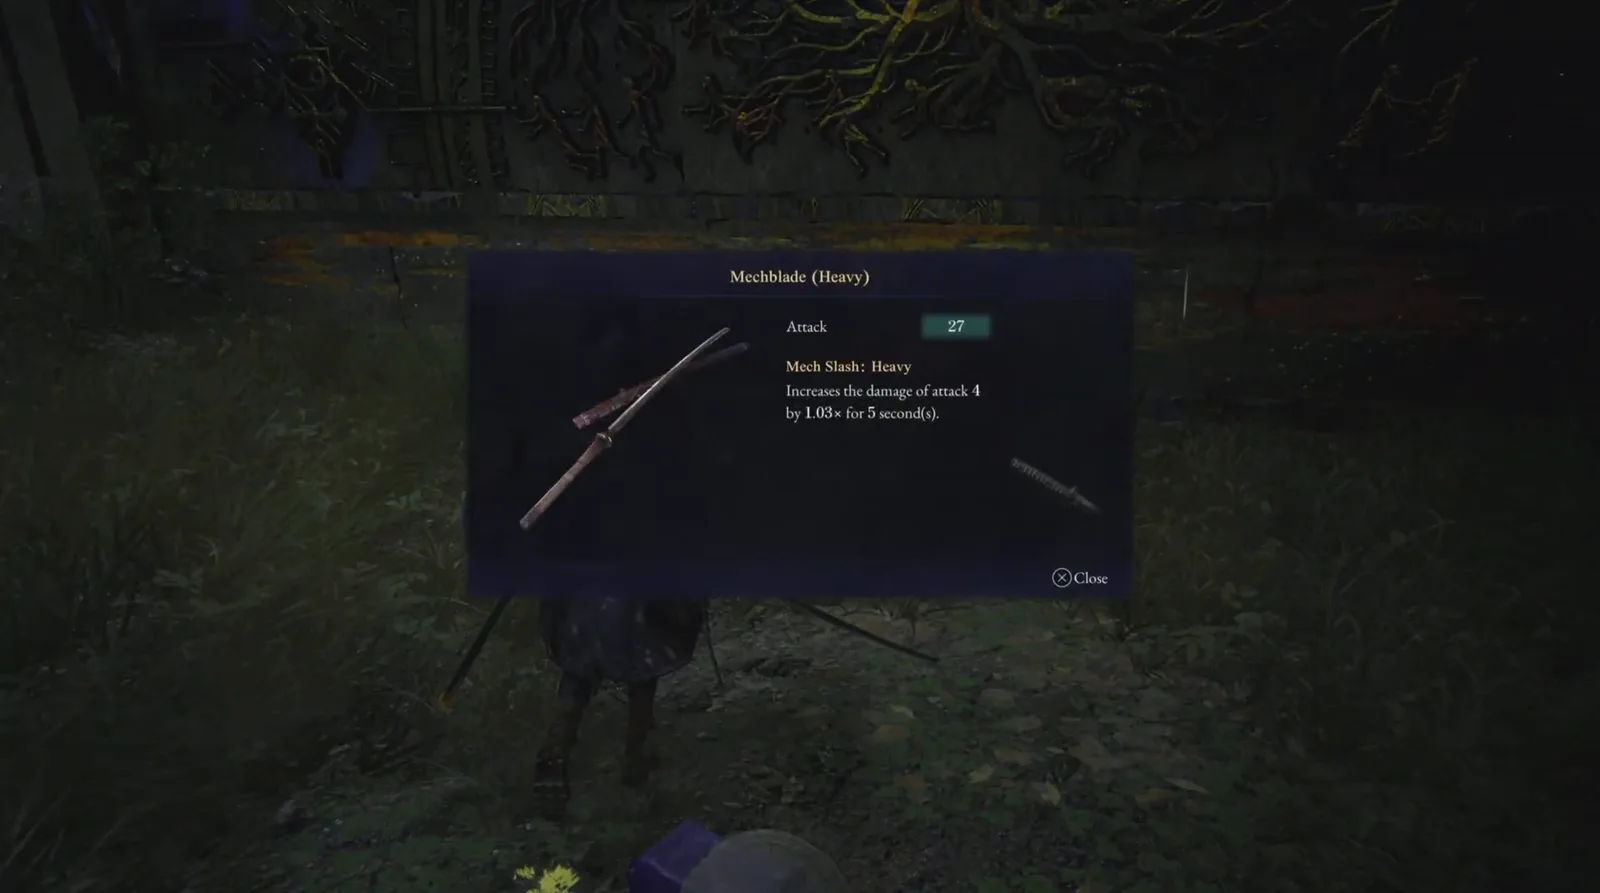
Beyond the escape hole, collect Mechblade (Heavy) and the Legendary Painting on the ledge.
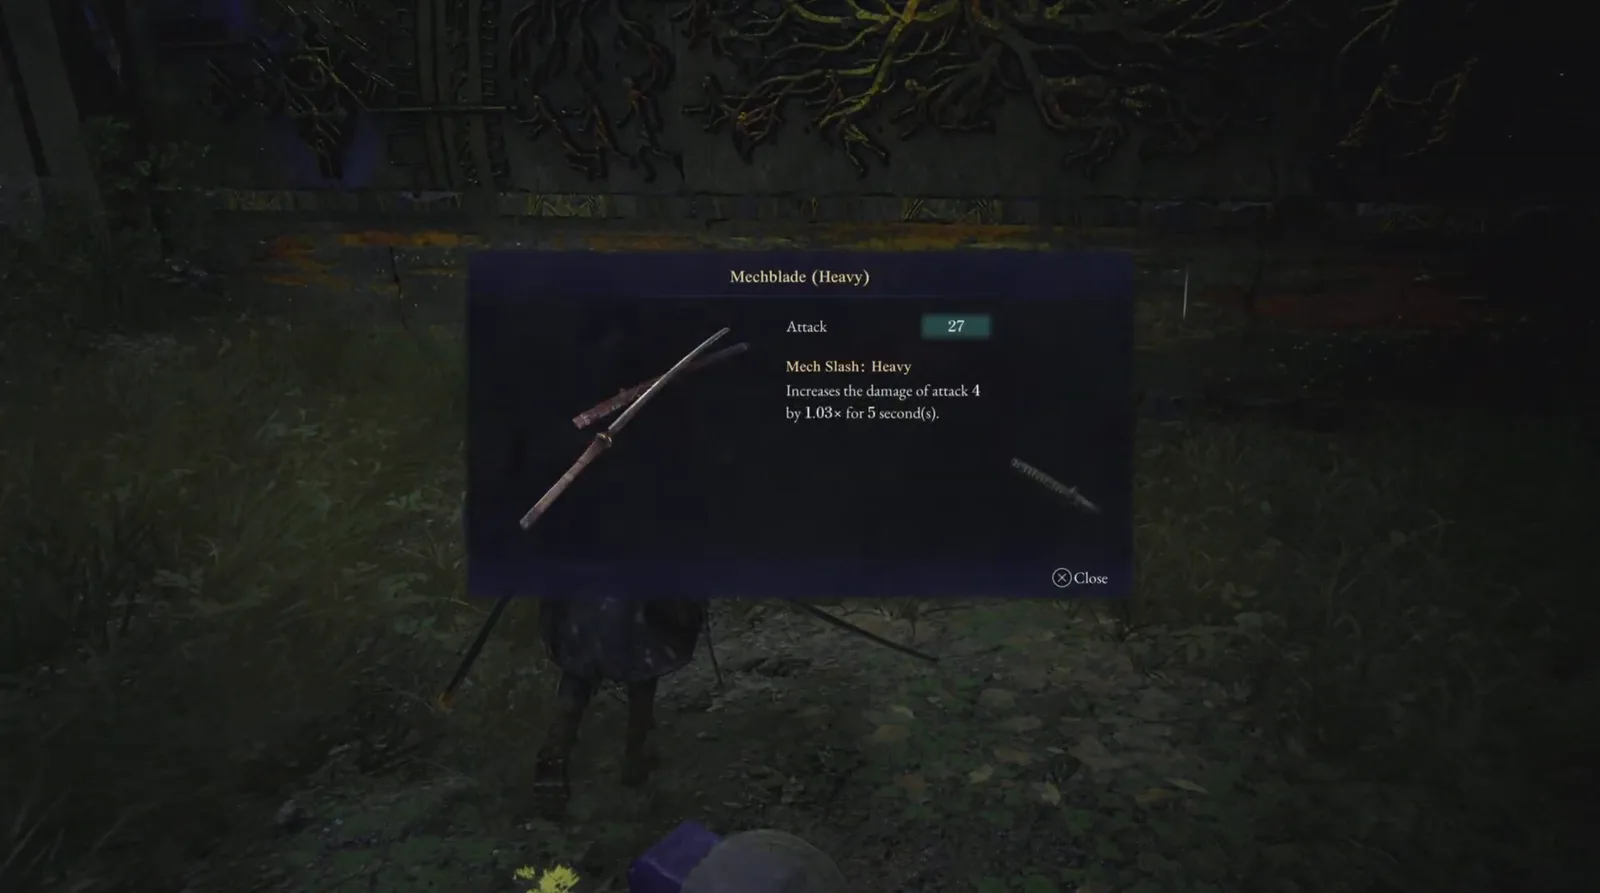
Reservoir depths — this pickup card confirms Mechblade (Heavy) on the grassy ledge beyond the escape hole. A3 — Lightning Stone return and water controls
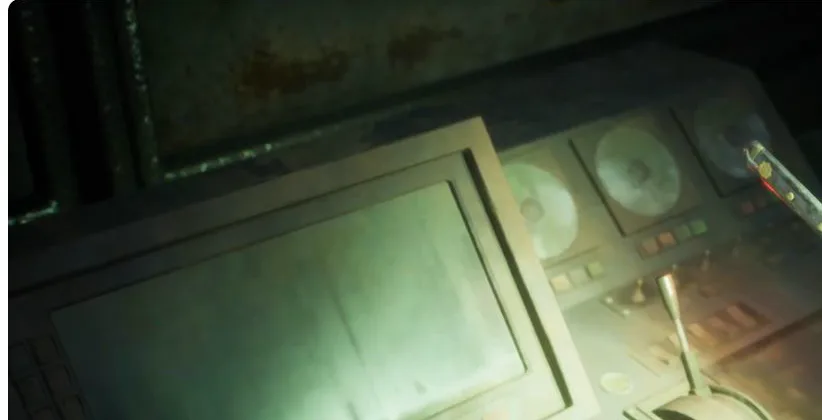
Follow the story to Mikoto, defeat the mandatory elite, and receive the Thunderwave Sword. After the reward, return the Lightning Stone to the reservoir control, operate the required control-panel and sluice route, then ride the newly opened route to the surface.
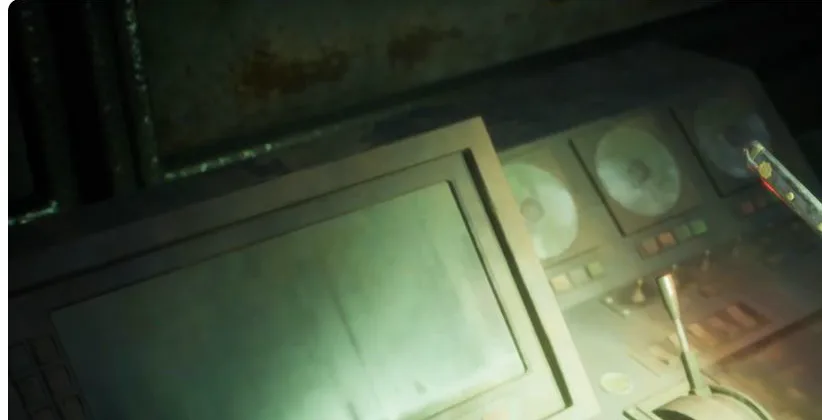
A3 story route — activate the Lightning Stone console after the first Lacerta encounter to open the next gate.
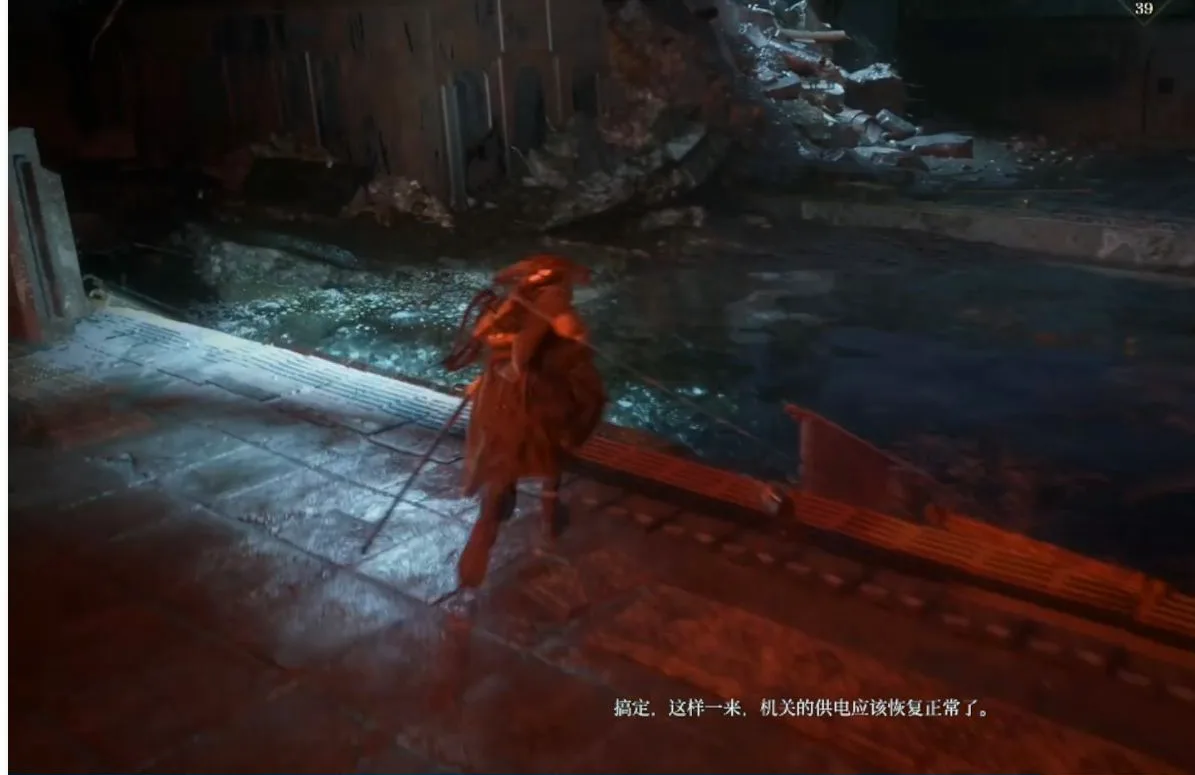
A0 — Entry
- Cleansing Vessel
- Camp
- Ancient Golem
A1 — Generator loop
- Camp
- Camp
- Camp
- Camp
- Dragon Vein Shrine
- Binding Fang
- Recipe: Omelette
- Longing for the Surface
- Thick Cuirass
- Sharpshooter II
- Tomato Seedling
- Mysterious Seedling
- Legacy Golem
- Legacy Golem
- Incense Bottle
- Memory Chip x2
- Memory Chip x2
- Memory Chip
- Electronic Brain x2
- Facility Module
- Facility Module
- Facility Module
A2 — Reservoir and first Lacerta encounter
- Camp
- Dragon Vein Shrine
- Recipe: White Rice
- Explore the Dragon Vein Shrine
- Mechblade (Heavy)
- Auto-Track II
- Legendary Painting
- Potato Seedling
- Lacerta Blight Effigy
- Lacerta — Lv. 13
A3 — Lightning Stone return
- Camp
- Thunderwave Sword
- Power Generator
- Facility Module
A1–A4 — Generic water-control markers
- Control Panel
- Control Panel
- Control Panel
- Sluice Gate
- Sluice Gate
- Sluice Gate
Kanto departure check
Finish the Ancient Civilization surface sweep and final Nushi rematch, then use the final checklist before leaving Kanto.
A4 — Surface sweep, final Lacerta, and Kanto exit
Collect the remaining surface shrine, armor, merchant interaction, and other named pickups. Rest at the lair approach, defeat the Lv. 16 Lacerta two-bar rematch, complete the post-fight vessel sequence, and leave Kanto.
Common mistakes to catch before departure
Use this recap before the final Kanto exit; it reinforces the preparation loop without adding extra completion targets.
- Finish the full conversation and map-question interaction with each Legacy Golem when you encounter it. This is a completion-sweep precaution, not a claim that the interaction is permanently missable.
- Respond to Koo's nearby-item hint: open the map and place a marker if you are not collecting the item immediately.
- Do not rely on dodge alone: combine spacing and parries with ranged pressure, Koo's control, and aerial assassination when the skill and terrain allow it.
- Before leaving a region, use the checklist to collect its named recipes, crafting books, seedlings, and Facility Modules. This sweep reminder does not imply that they disappear after departure.
- Return to the Cleanse Walker periodically to advance research and cooking, apply facility upgrades, and claim each new dish's first-meal permanent stat increase.
Completion checklist
A4 — Final surface sweep and departure
- Camp
- Camp
- Dragon Vein Shrine
- Garb of Tranquility
- Peak II
- Game Console
- Wandering Merchant
- Lacerta — Lv. 16
- Power Generator
- Power Generator x2
- Electronic Brain
- Electronic Brain x2
- Facility Module
- Facility Module
- Facility Module