Locations
Ogouchi Buffer Zone — Cliffside VillageKanto Region · Lv. 8 · elite
Ogouchi Buffer Zone — Disposal SiteKanto Region · Lv. 8 · elite
Ogouchi Buffer Zone — QuarryKanto Region · Lv. 9 · elite
Ogouchi Buffer Zone — Ruined TowerKanto Region · Lv. 9 · elite
Ogouchi Buffer Zone — northwest raised platformKanto Region · Lv. 6 · elite
Ancient Civilization Zone — locked gate routeKanto Region · Lv. 13 · elite
Ancient Civilization Zone — Shopping MallKanto Region · Lv. 11 · elite
Primary weaknessNot yet verified
Drops and rewards
- Amber
- Scrap Metal
- Chemical Reagent
- Mechanical Part
Recommended strategy
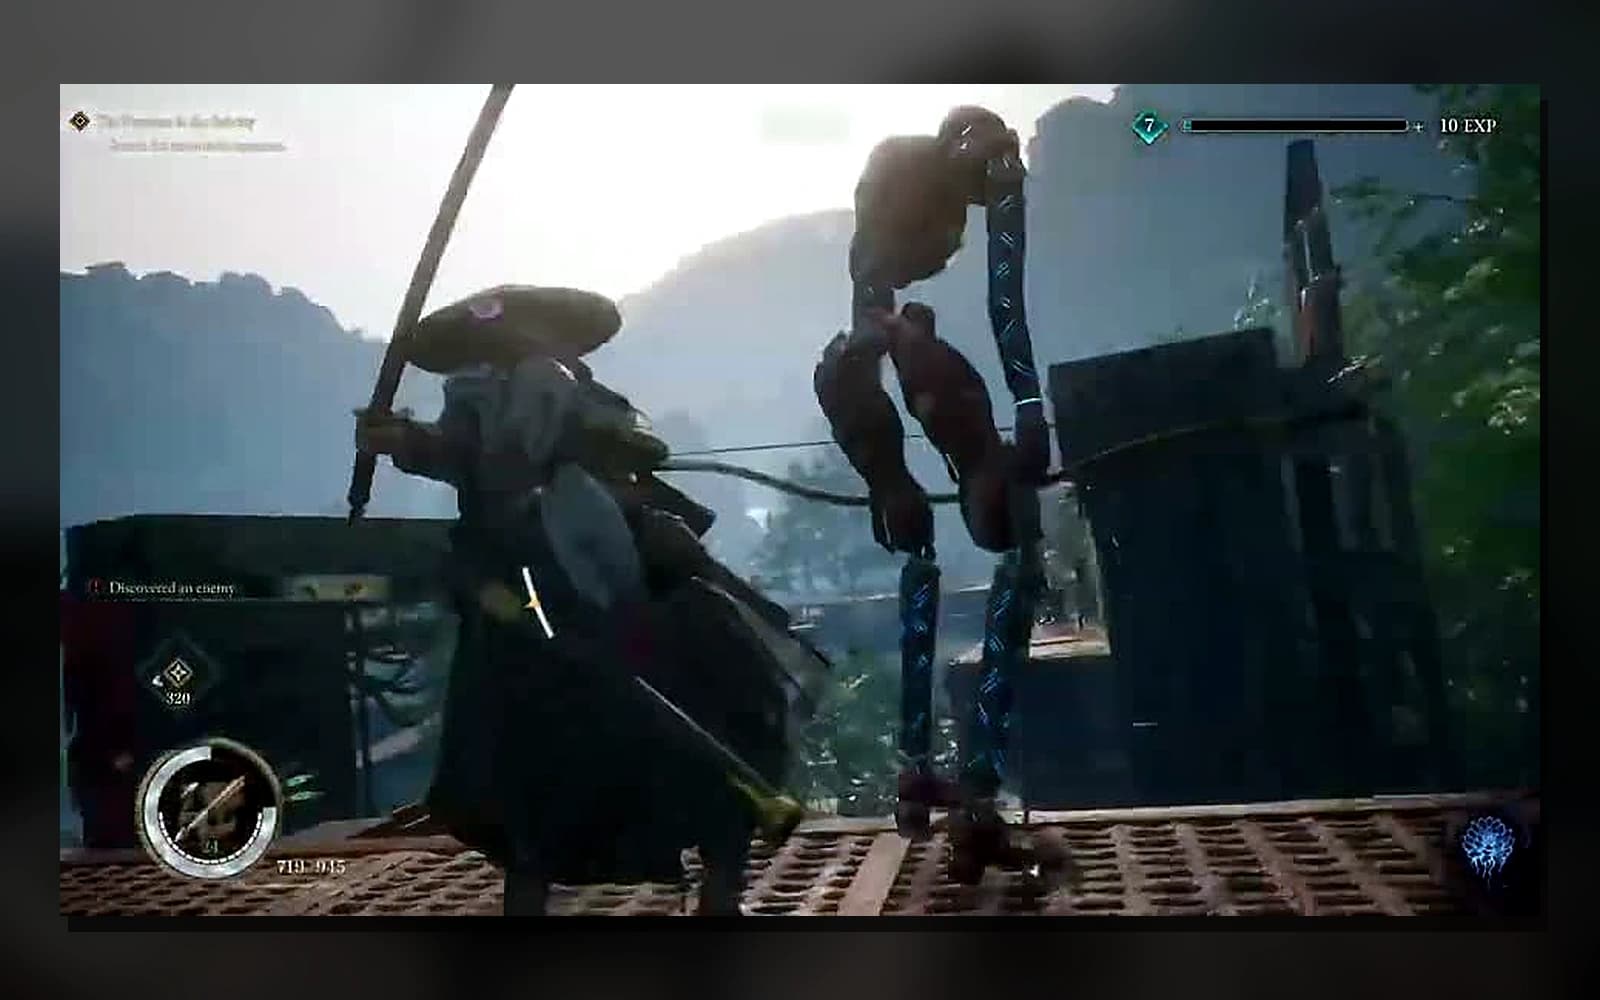
Bait a full slam or committed swing before entering melee range. The recovery is longer than an Agile Golem's, but extending the punish until the machine has fully reset can still trap Emma under the next attack. Ranged damage is useful while crossing open ground. When the encounter is near a wall or tower, keep the camera facing the Golem and avoid being pinned against scenery. No reliable source currently confirms a shared elemental weakness.