Locations
Drops and rewards
- Not yet verified
Recommended strategy
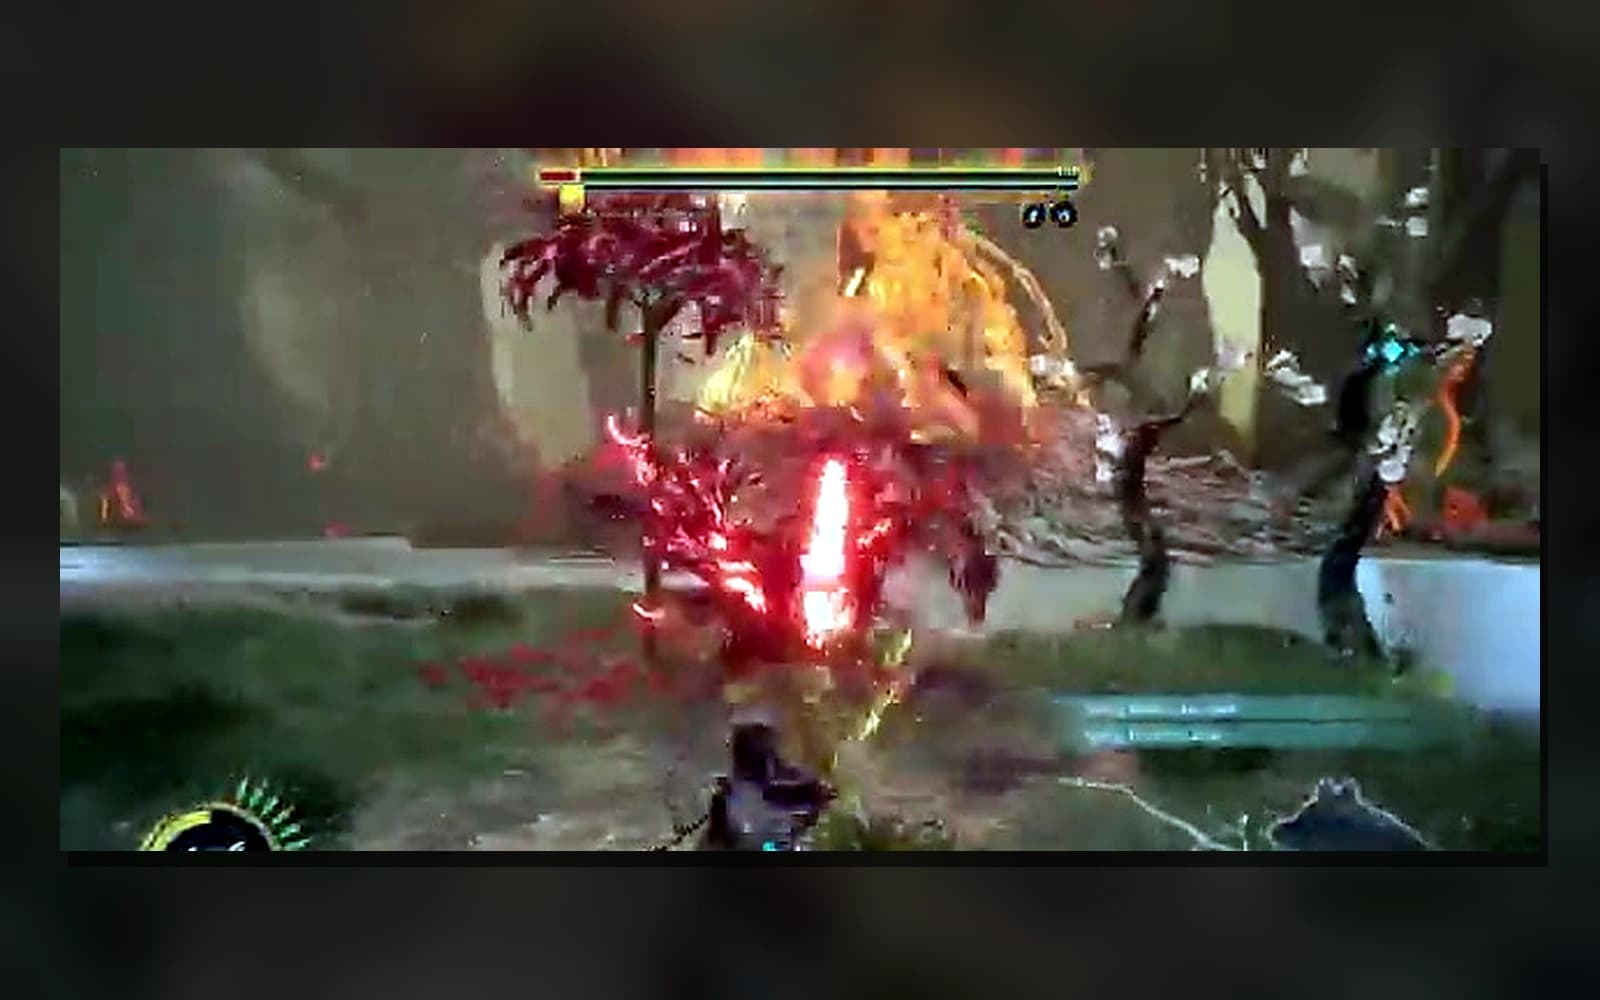
Enter the final encounter with healing, ammunition, and preferred skills fully prepared; no reliable source currently confirms a single elemental weakness, so the page does not invent one. Treat each phase as a separate rhythm rather than attempting to carry the same timing through the entire fight. Begin defensively, identify which attacks can be parried, and spend Koo's commands only after a successful defense or an unmistakable recovery. Keep enough FP and healing capacity for phase transitions instead of exhausting every resource during the opening health bar. When the arena becomes visually crowded, move to open ground and restore the camera before attacking. Short, repeatable punishes are safer than long strings until the current phase's recovery is understood. Entanglement Overdrive should be reserved for staggered states or a completed major attack. The detailed guide can describe the verified sequence without assigning an unsupported weakness or reward; both fields remain Not yet verified until English UI or another reliable released-game record confirms them.
Read the complete strategy